Everyone should have some monitoring, and there are enough providers on the market to save you from building your own. We did dabble in self-build, but this technology should be on your buy list rather than build.
We have settled on Better Stack’s software, which does a great job. There is a free version, but we needed some extra functionality due to our technology environment. For around $30 per month (£24), we can ensure any issues get reported to our engineers. Better Stack has some great features, including SMS/phone alerting, web monitoring, server monitoring, a classy-looking status page and an API to customise workflow.
Better Stack Features
First of all, let’s start by summarising some of Better Stacks features – just in case you are not already using them for your website monitoring solution:
- Uptime Monitoring: Better Stack offers reliable uptime monitoring to ensure your website or application is always up and running, alerting you instantly in case of downtime.
- Incident Management: Better Stack provides a comprehensive incident management system that helps you track, analyse, and resolve incidents effectively, reducing response time and improving overall system availability.
- Performance Monitoring: Gain insights into your website’s performance with Better Stack’s performance monitoring feature, which helps you identify bottlenecks and optimise your website for a better user experience.
- Multi-Channel Alerts: Receive instant notifications through various channels such as SMS, email, Slack, Microsoft Teams, and more, ensuring you’re always informed about your website’s status.
- Maintenance Window Scheduling: Schedule maintenance windows to prevent false alerts during planned downtime, allowing you to focus on essential tasks without unnecessary interruptions.
- Public Status Pages: Better Stack allows you to create customised public status pages that display the real-time status of your services, improving transparency and trust with your customers.
- API Monitoring: Monitor the health and performance of your APIs with Better Stack’s API monitoring feature, ensuring seamless integration and functioning of your services.
- SSL Certificate Monitoring: Keep track of your SSL certificates expiration dates and receive alerts before they expire, avoiding potential security risks and website downtime.
- Infrastructure Monitoring: Keep an eye on your server’s health and resource usage with BetterStack’s infrastructure monitoring, helping you identify issues before they escalate into more significant problems.
- Integrations: Better Stack offers seamless integration with popular tools and platforms, enabling you to manage and monitor your services efficiently within your existing workflow.
Integrating Better Stack into WordPress
One area we missed when moving to BetterStack is a simple way to display specific monitoring on our WordPress website. You can build a program using the API, but that takes a little knowledge and understanding of PHP code. The good news is that we have done most of the hard work for you by making a simple WordPress Plugin which enables you to connect to the Better Stack API. Leveraging our plugin, you can choose the monitors you want to display and order them as you like by inserting a short code into your WordPress page.
As mentioned above, this is a simple plugin, and you can expand it significantly to meet your monitoring display needs. However, it gives you a framework to work from and simplifies your connectivity to Better Stack. Follow the instructions below to get started with integrating BetterStack monitors to your WordPress Website.
Note: We built this for the SaneChoice Service Status page. As a result, the plugin should be used at your own risk. Although it’s a simple script and should not cause problems, please ensure you are comfortable with what you are uploading and enabling. Ideally, you should test any plugin on your development website before moving to production. At time of writing, this code works on PHP7.4 and above, and WordPress 6.x and above.
Plugin Installation and Configuration
If you don’t have a Better Stack account, then create one on the betterstack.com website. Better Stack has a free offering to get you started and also includes the API which is needed for this plugin. Once you have set up an account, and configured your first monitors, follow the instructions below.
- Download our Plugin Code from GitHub.
- Go to your WordPress website, upload the plugin, and then activate the plugin. If there are no errors during activation, then you are all set.
- Go to the BetterStack Menu Item in the Admin Toolbar, located on the left.
- Add your Pronounceable Names (see instructions to create a Pronounceable Name) separated by commas, and also add your Better Stack API Key.
- Click UPDATE once Monitors and API Key has been added.
- To display your monitors, add the below shortcode to the page where you want to show it. Then, save and publish the page and look on the internet to see how it looks.
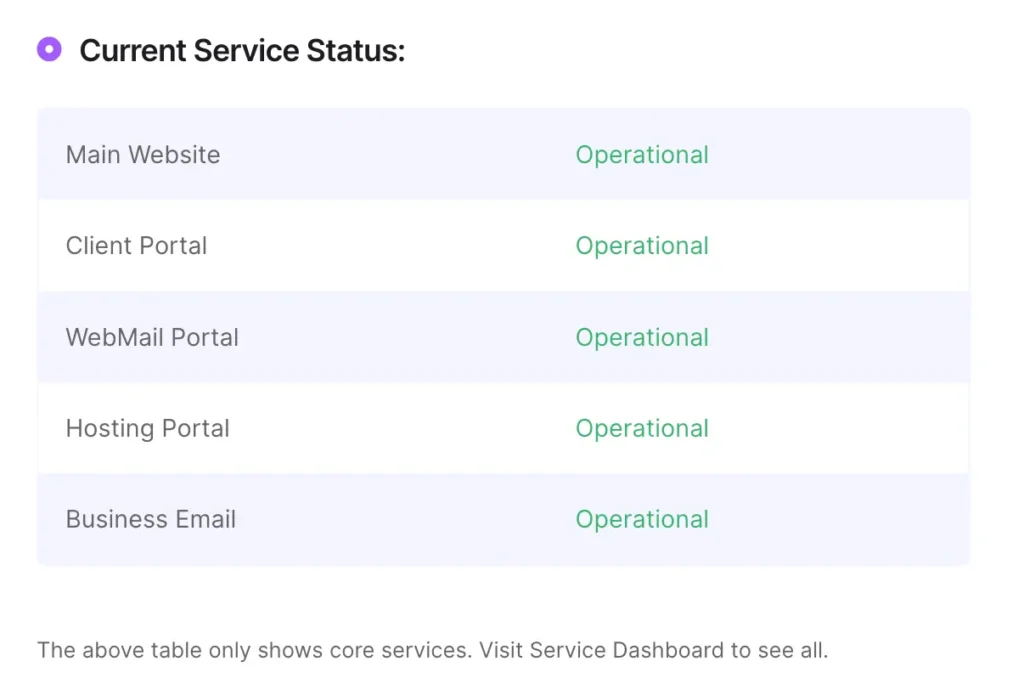
[betteruptime_monitor_status]If you wish to style your table with CSS, then the class is called betteruptime (class=”betteruptime”) so you can reference that within your CSS. With a little bit of CSS, you should be able to create something that looks like the below.

There may be a few teething issues, but it is as simple as that to integrate Better Stack monitors into your WordPress Website. You can add and remove as you like, and since it’s a plugin, it’s easy to manage.
If you run into problems with our Better Stack WordPress Plugin, or have questions, please post below so we can help. Unfortunately, we don’t offer any support for the plugin. Still, we are always happy to provide advice and help wherever possible. In the meantime, happy monitoring, and we hope this little plugin helps you integrate your Better Stack monitors into your WordPress website!